Set up appointment emails
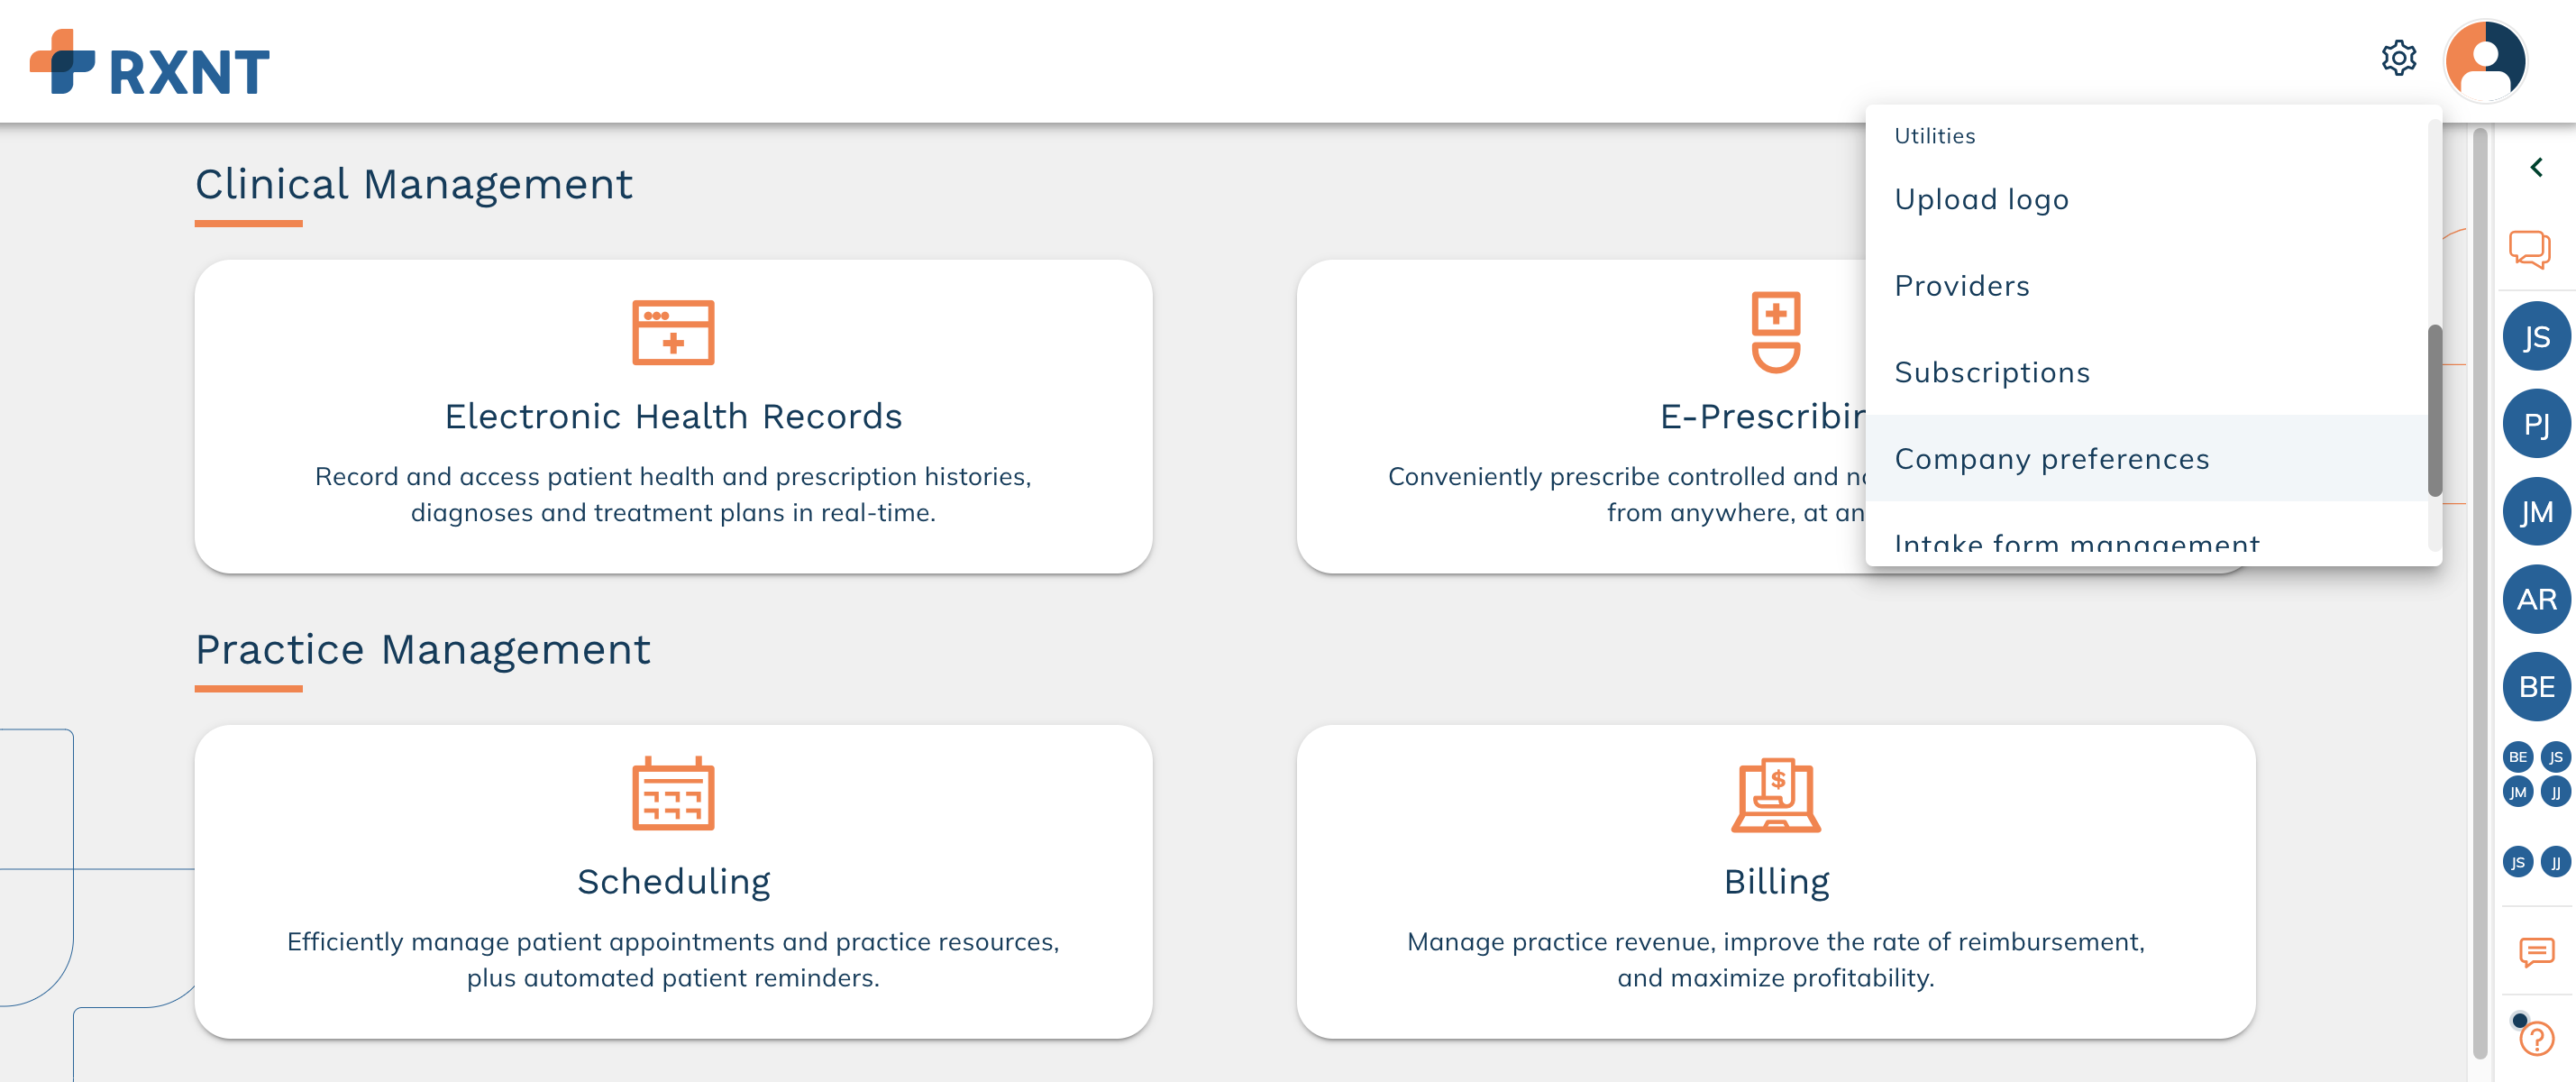
Click Company Preferences from the Utilities Menu.

Ensure Email Notifications are turned ON.

Send emails to patients without a patient portal
- Click on Utilities on the product dashboard.
- Click on Company Preferences.

- Turn On the option Email notifications to patients without Patient Portal when the appointment is created.

- Click on Update.
- Log off and log into the system.
- Click the Send Email button.

- An email is sent successfully to the patient.

- If the patient doesn't have an email ID, the Send Email button is grayed out till an email address is added for the patient in the Patient Profile.

Steps to manually send emails from existing appointments to patients without the patient portal:
- Click on Utilities on the product dashboard.
- Click on Company Preferences.

- Turn ON the Email notifications to patients with Patient Portal.

- Click on Update.
- Log off and log into the system.
- Click the Send Email button on an existing appointment in Scheduler.

- An email is sent successfully to the patient.

Steps to send emails to patients without an active patient portal:
- Click on Utilities on the product dashboard.
- Click on Company Preferences

- Turn On the option Email notifications to patients without Patient Portal when the appointment is created.

- Log off and log into the system.
- Create a new appointment in the Scheduler.
- Enter the required details in the appointment.
- Click on Save.

- An email is sent to the patient with the appointment details.
Steps to manually send emails from existing appointments to patients without the patient portal:
- Turn On the option Email notifications to patients without Patient Portal when the appointment is created.

- Click on Update.
- Log off and log into the system.
- Click the Send Email button.

- An email is sent successfully to the patient.


- If the patient doesn't have an email ID, the Send Email button is grayed out till an email address is added for the patient in the Patient Profile.

Note: The Send Email button is made available for existing appointments for patients with an active patient portal as well.
Steps:
-
- Turn ON the Email notifications to patients with Patient Portal on the product dashboard Company Preferences.

-
- Click on Update.
- Log off and log into the system.
- Click the Send Email button on an existing appointment in Scheduler.

-
- An email is sent successfully to the patient.


Still, need help? Contact us!
Have a great idea? Tell us about it!