Tap Scheduling to manage appointments in the RXNT app.
View appointments
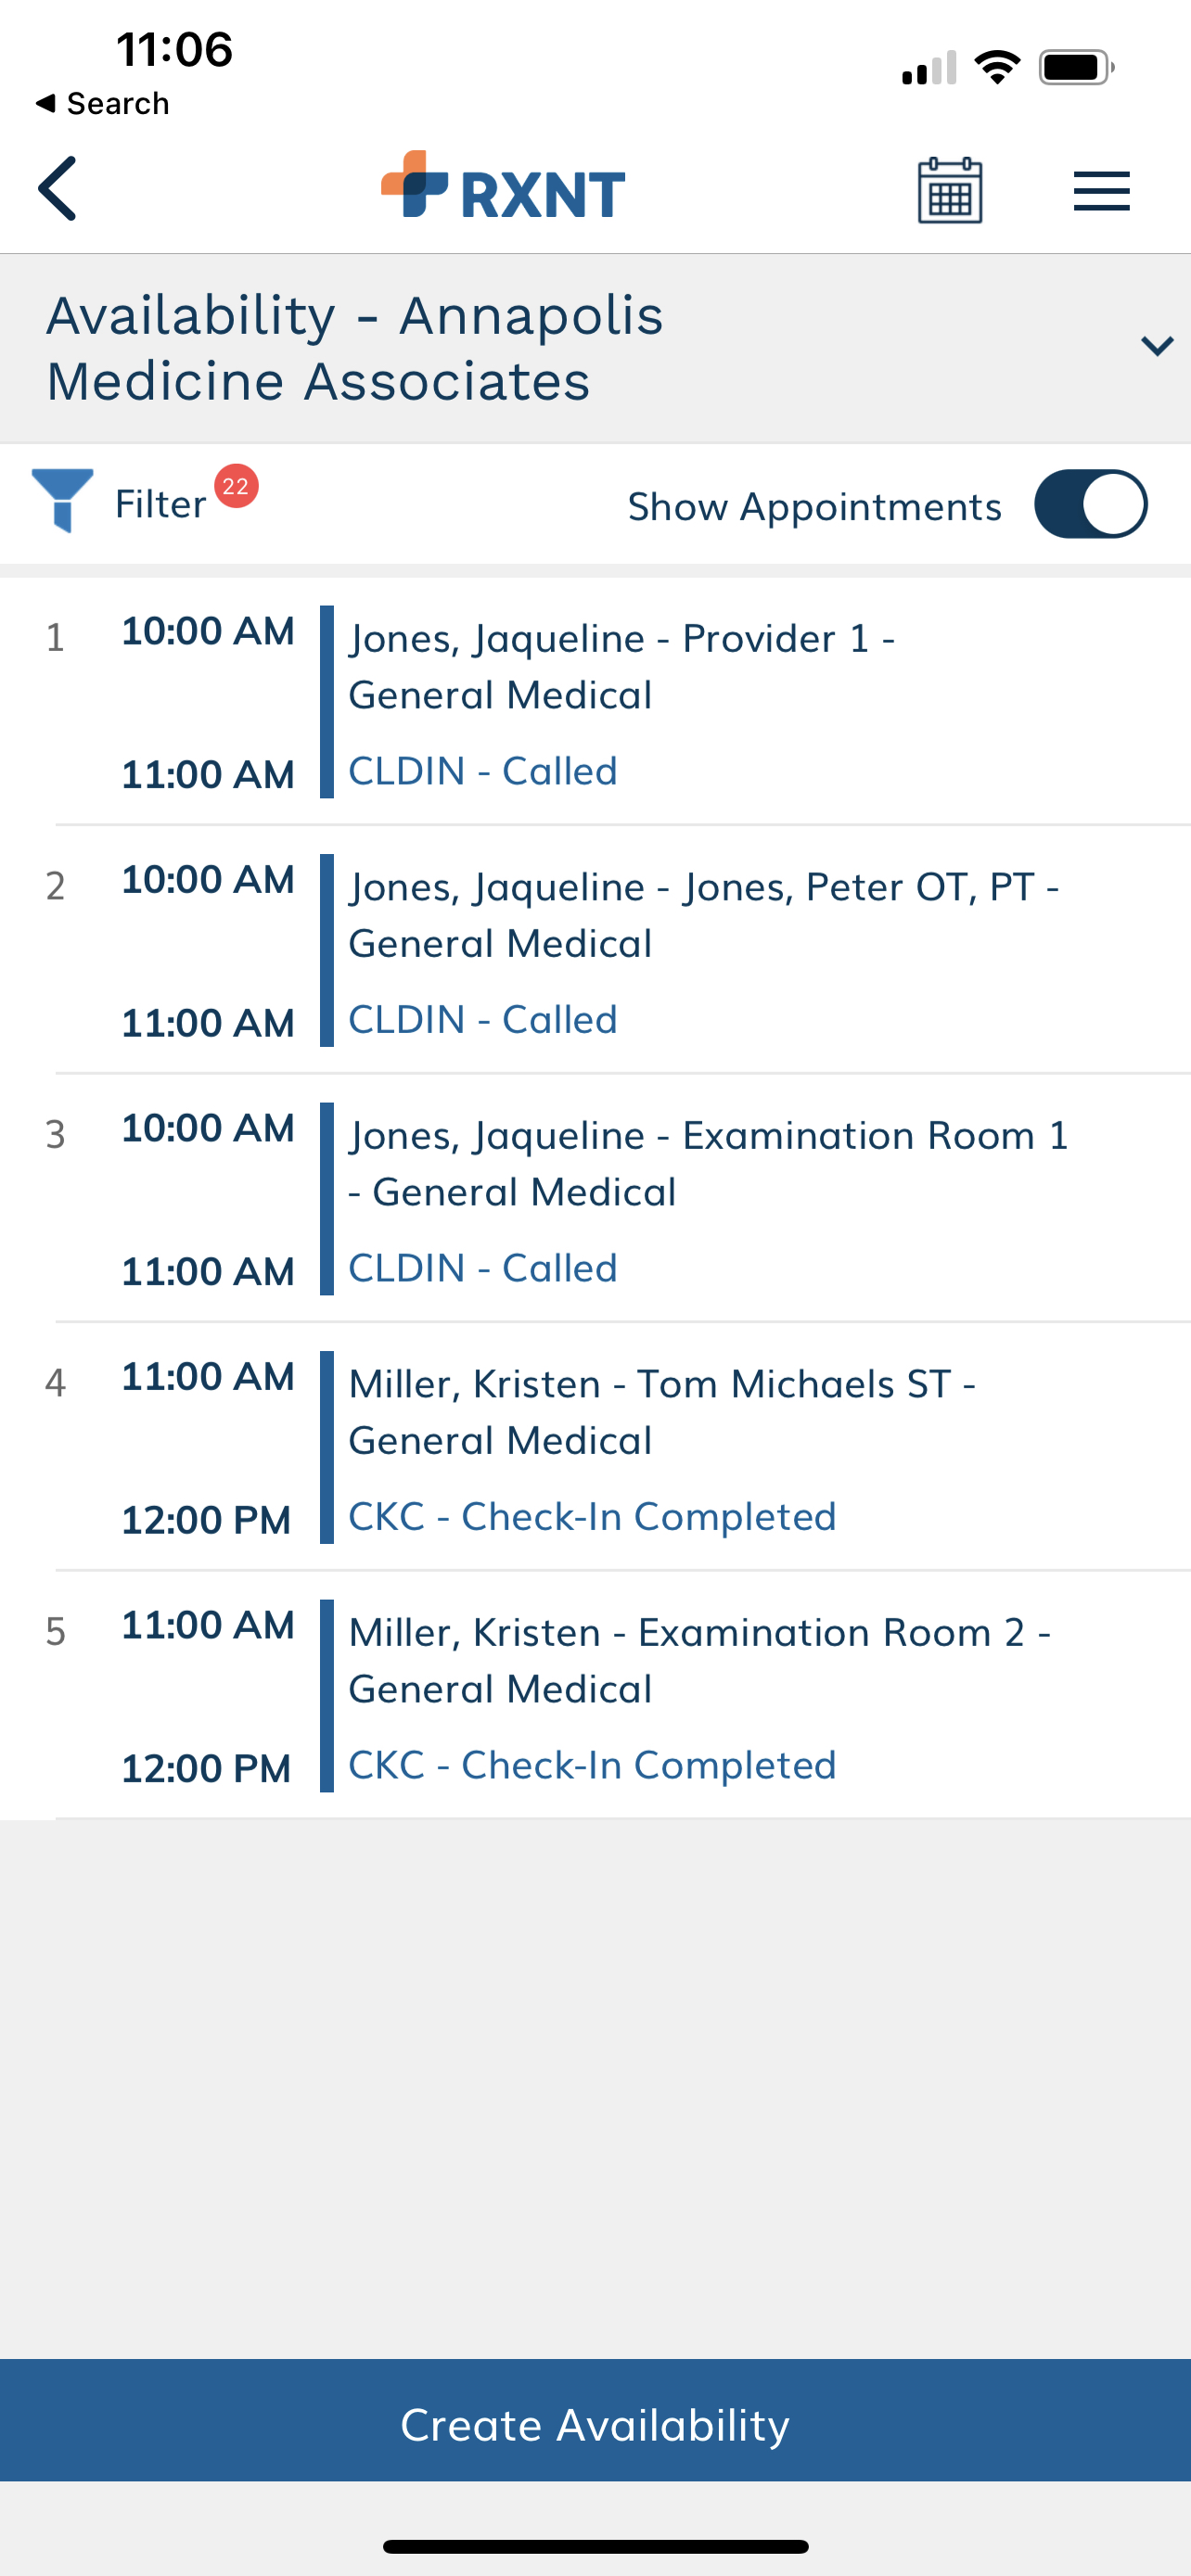
Once you've launched Scheduling, appointments for all providers will be displayed for the current day by default, unless filter(s) are set.
Patients scheduled for group appointments will be indicated by the group icon.
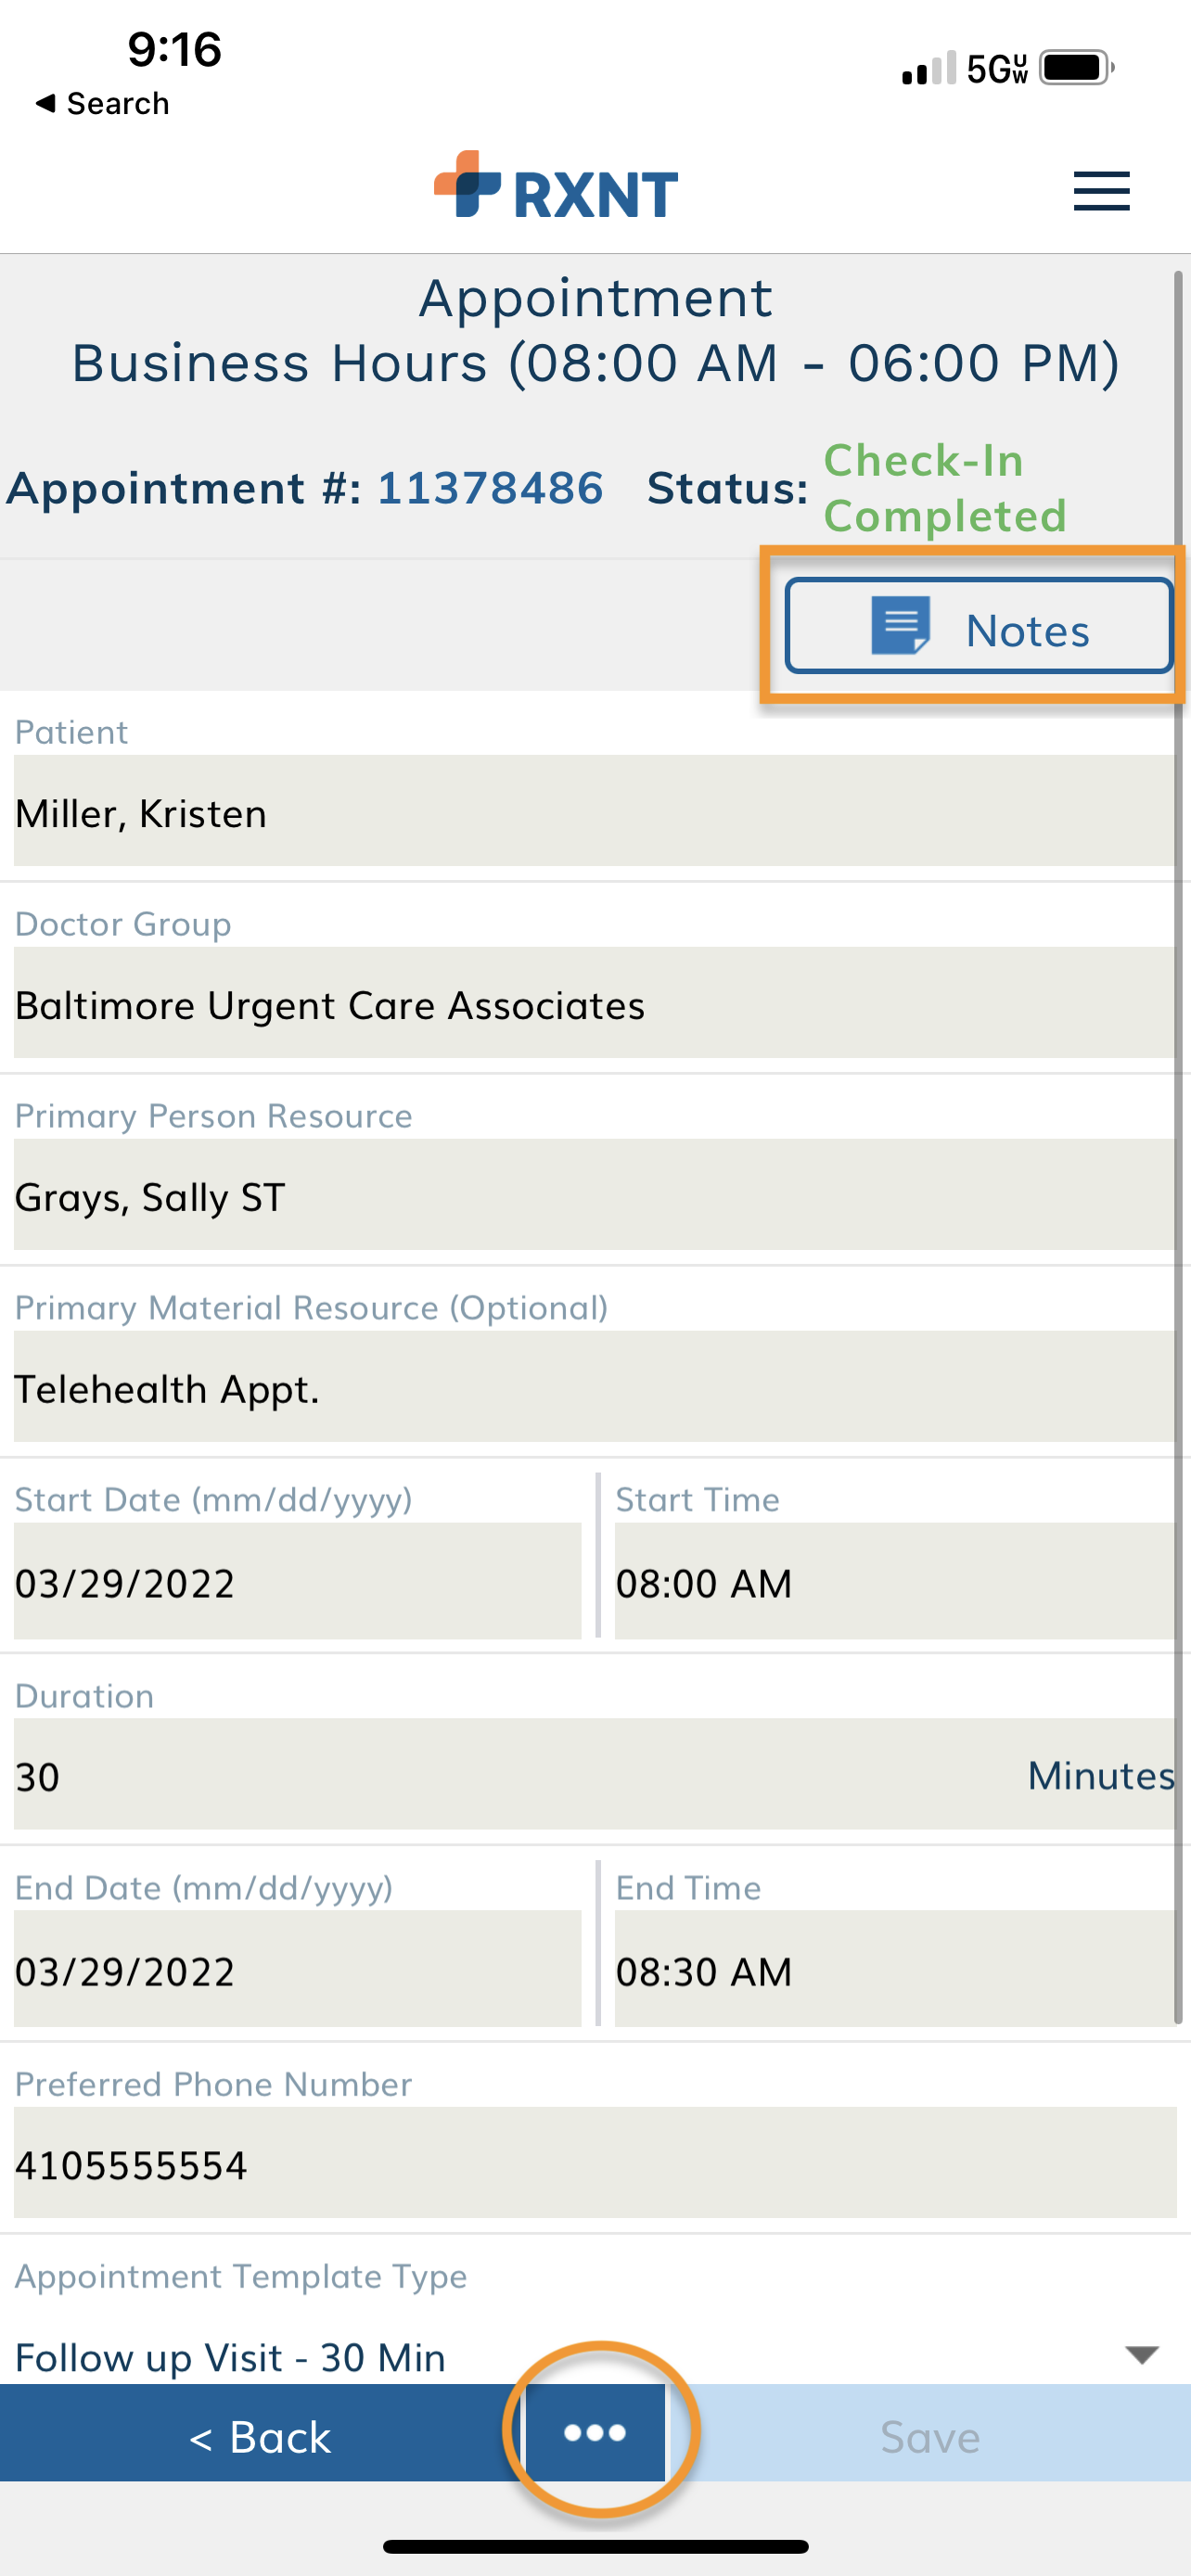
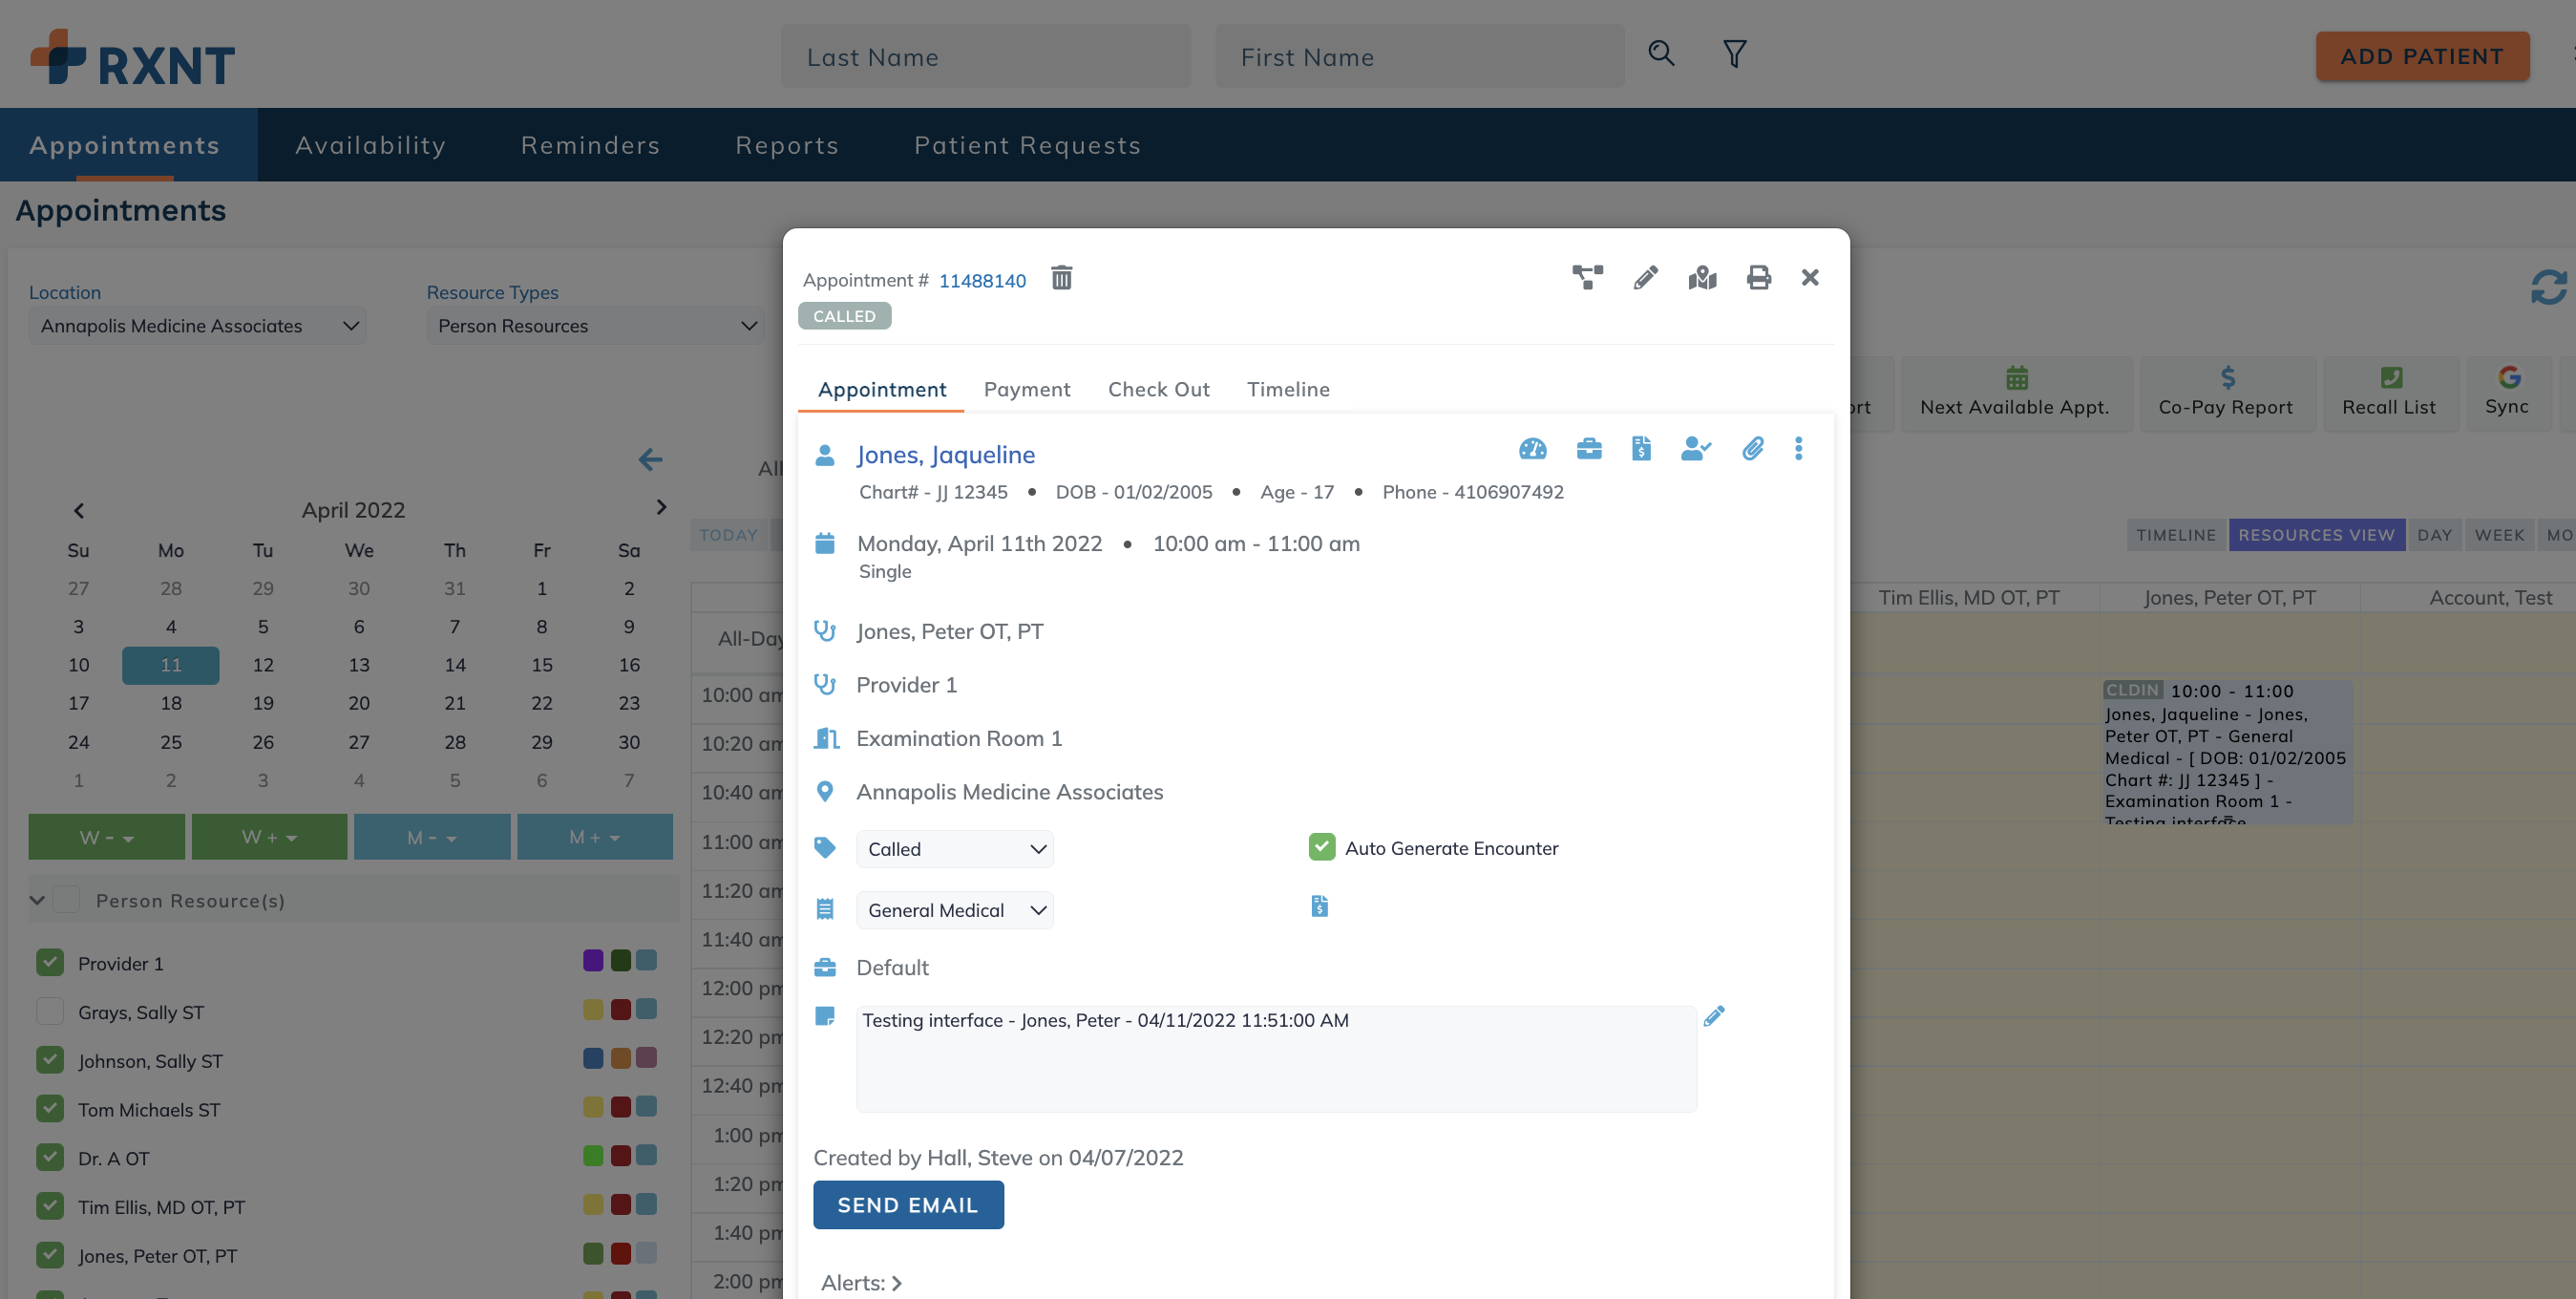
Tap on an appointment to view all details.
Review appointment details. Appointment Template Type and Appointment Status can be updated here.
Filter
Select the filter icon to adjust the calendar's provider (person resource) and room (material resource) preferences.
Select the Calendar icon to view a different day
You can toggle on and off to show the provider's availability, and the arrow-down icon at the top of the screen allows the user to change their location.
Reminder: If the customer has their location configurations defaulted on the desktop application, they will not have to change their location.
Create appointment
Existing appointments will display in chronological order. Tap Create Appointment at the bottom of the screen. Adding Appointments will automatically sync to the desktop version of the scheduling application.
Reminder: On the desktop version in the utility section of the scheduler, you may change the settings to default the appointment status.
Select the magnifying glass to search for the patient.
Add or modify the appointment information, then tap Save. You will receive a confirmation the appointment was saved successfully.
Add new patient
Add new patients or edit existing patient demographics here. on the calendar screen
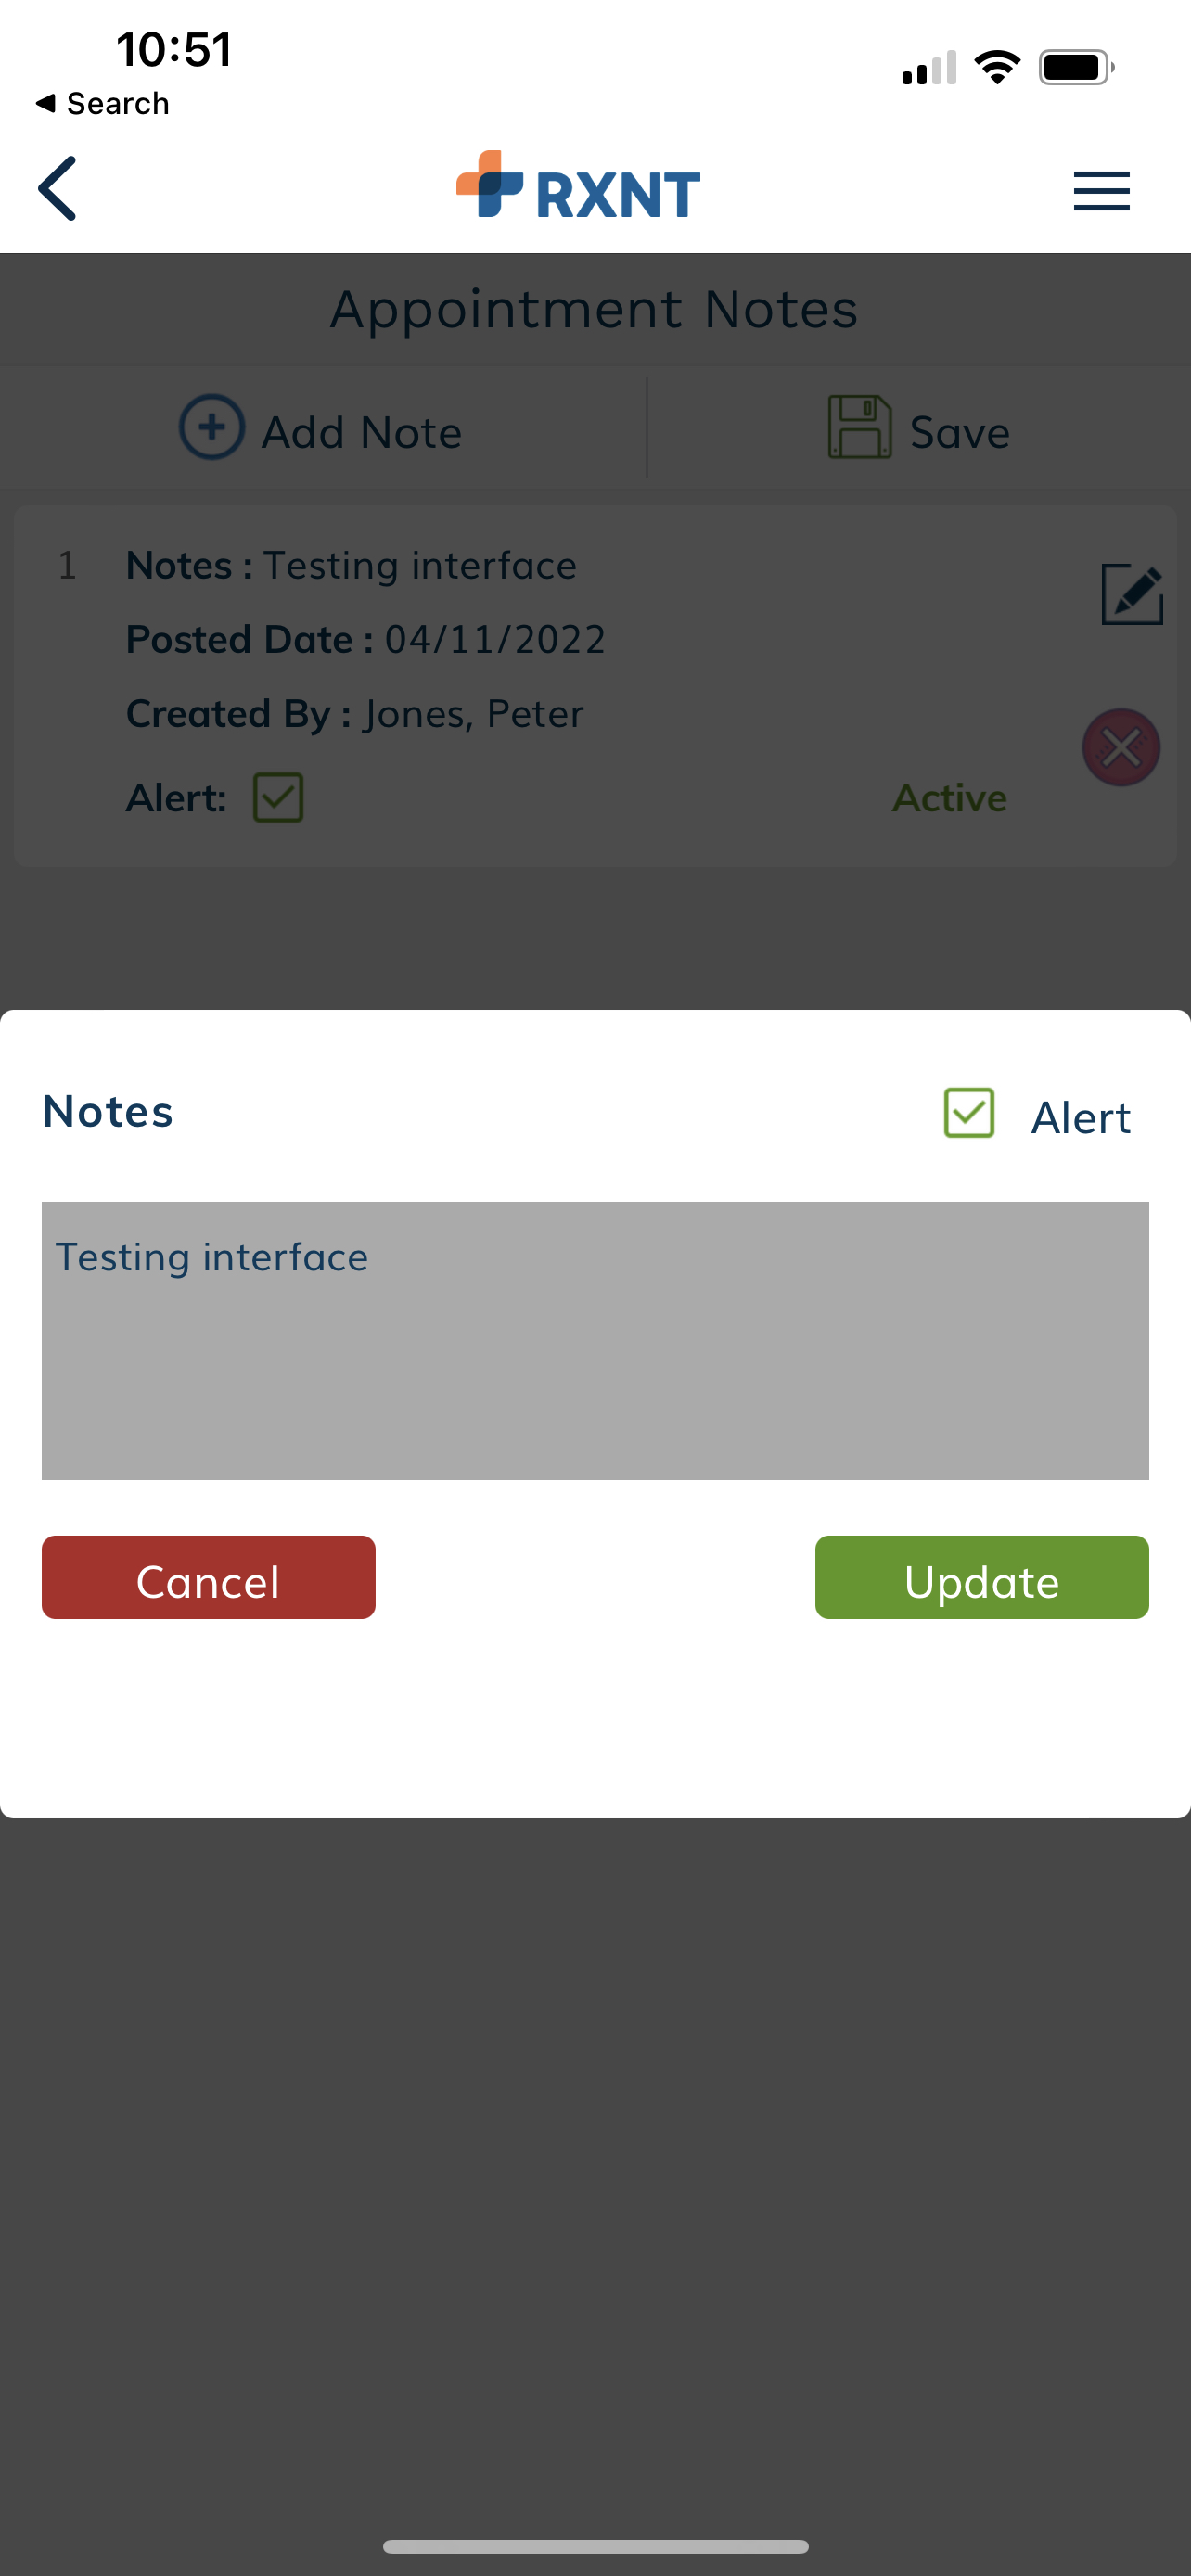
Delete appointment and adding notes
Select the appointment that you want to delete from your schedule. Tap the three dots at the bottom of the screen, then tap Delete.


 Home
Home
Home will take you to additional functionality within the mobile scheduling application. Appointments return you to your schedule for the day.
Availability
Selecting Create Availability at the bottom will navigate you to add availability to the person resource, material resource, and doctor group availability schedule.
Enter the required information. Easily enter the appointment time on the start time using your finger on the clock. You also can switch to the keyboard to type in the time instead.
Reports
Reports provide additional reporting functionality, such as Appointment Report, Payment Report, Reminders, and Prior Authorization Report. Tap the filter icon to configure your search criteria for each report.
Still, need help? Contact us!
Have a great idea? Tell us about it!